
OCI Data Labelling
OCI Data Labeling using Bounding Box
In a previous post, I gave examples of how to label data using OCI Data Labeling. It was a simple approach to data labeling images for input to AI Vision. In that post, we just gave a label for the image to indicate if the image contained a Cat or a Dog. Yes, that’s a very simple approach, and we can build image classification models, and use the resulting model to predict a label for new images. These would be labeled as a Cat or a Dog with a degree of certainty. Although this simple approach can give OK-ish results, we typically want a more detailed model and predictions. For a more detailed approach, we can use Object Detection. For this, we need to prepare our data set in a slightly different way and Yes it does take a bit more time to prepare. Or perhaps it takes a lot more time to prepare the data. But this extra time in preparing the data should (in theory) give us a more accurate model.
This post will focus on creating a new labeled dataset using bounding boxes, and in a later post, we’ll examine the resulting model to see if it gives better or more accurate results.
I’ve mentioned the phrase ‘bounding box’ a few times and this approach does exactly as the phrase indicates. Draw a box around the object and assign a label to it. In our example, we have used a Cats and Dogs dataset. We’ll use that same dataset (50 images of each animal). This approach to labelling the images takes much longer to complete, as we have to draw a box around each animal. But it is worth the effort, as the models can focus on what is inside the box and ignore anything outside the box.
The first task is to define the dataset that will contain our newly labelled data based on the bound box method.
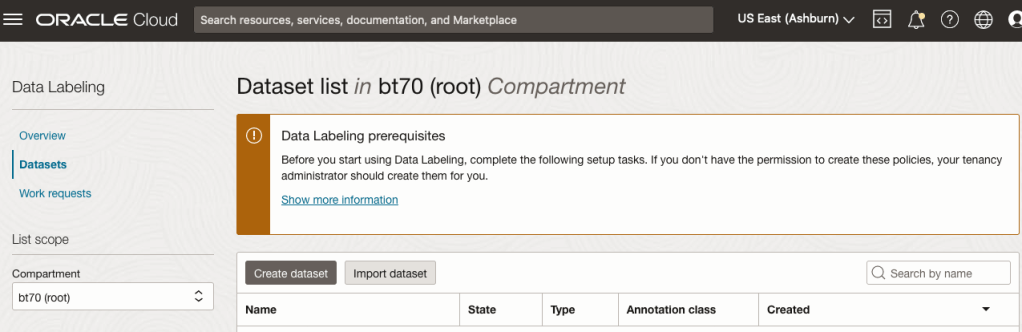
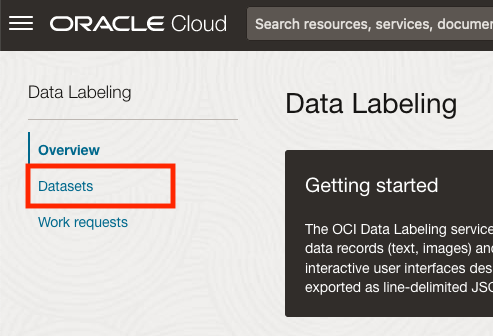
From the OCI menu, go to the Analytics & AI section and select Data Labeling.
Select the Dataset menu items(on the left hand side of the screen, and then click on the Create dataset button.
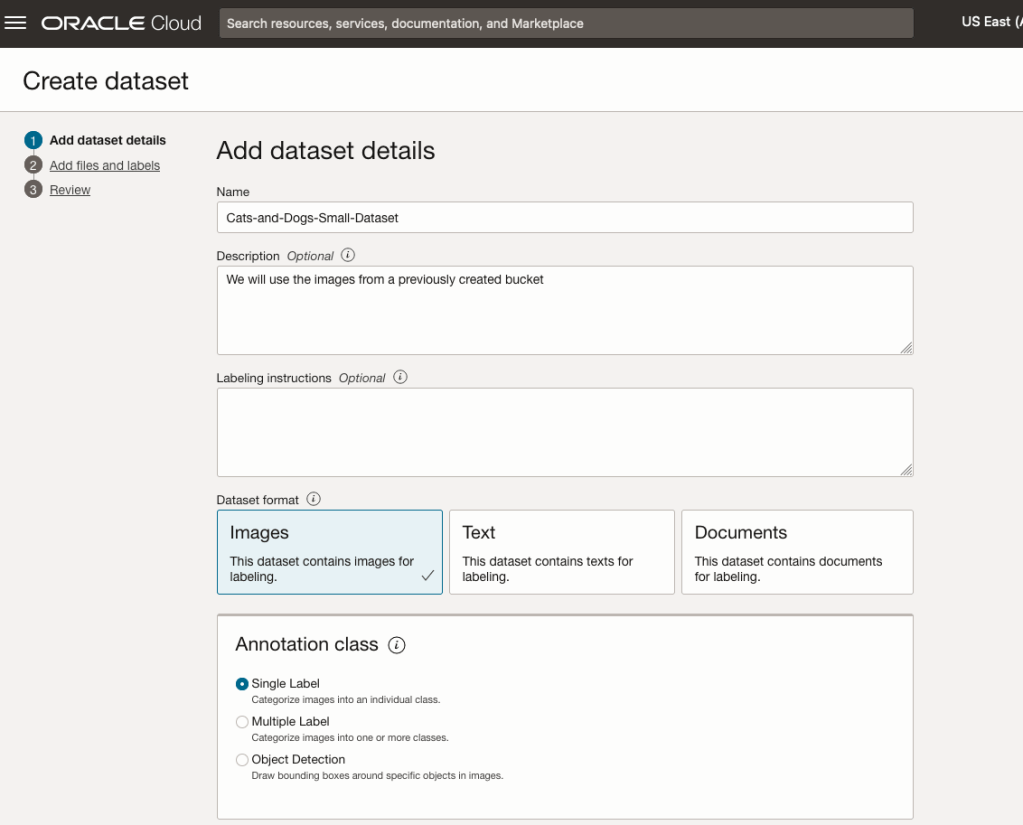
The Add Dataset screen allows us to enter the details of the dataset we want to use.
Our dataset is based on a dataset in Object storage, and we can define it as the basis of creating a newly labelled dataset. This does not affect the underlying original dataset.
In this case, we want to select Object Detection in the section called Annotation Class.


On the next screen, you can define the Bucket containing the images we want to label.
In our case, we will be using the Cats and Dogs dataset previously loaded into Object Storage.
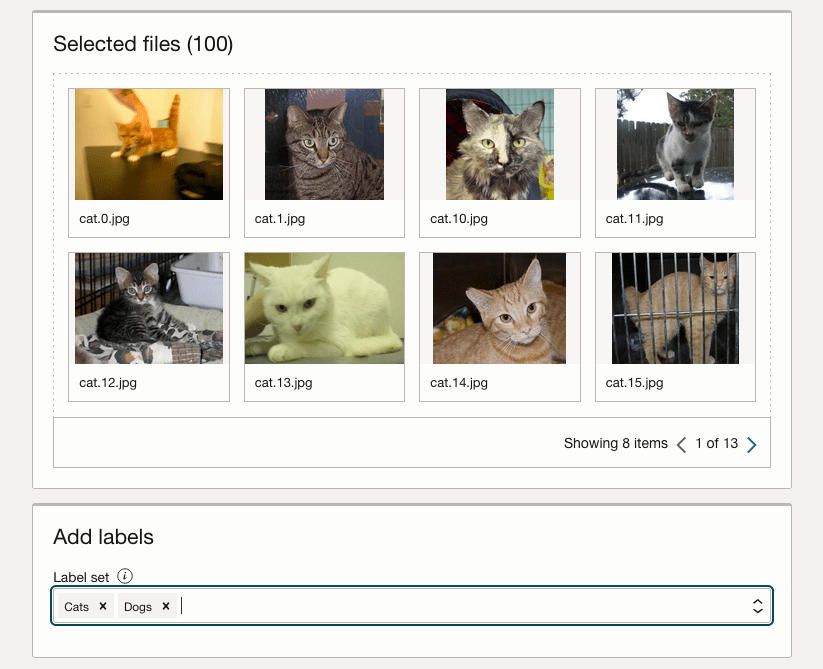
In the next section, it will tell you how many files are part of the underlying dataset. By default, it will use all of them.
Add the labels you want to use, although you can add more during the labelling process.
Click Next to move to the next screen and then Click Finish to complete this setup.

After a moments, depending on the number of images in the underlying dataset, the version of the dataset for labelling can now be processed.
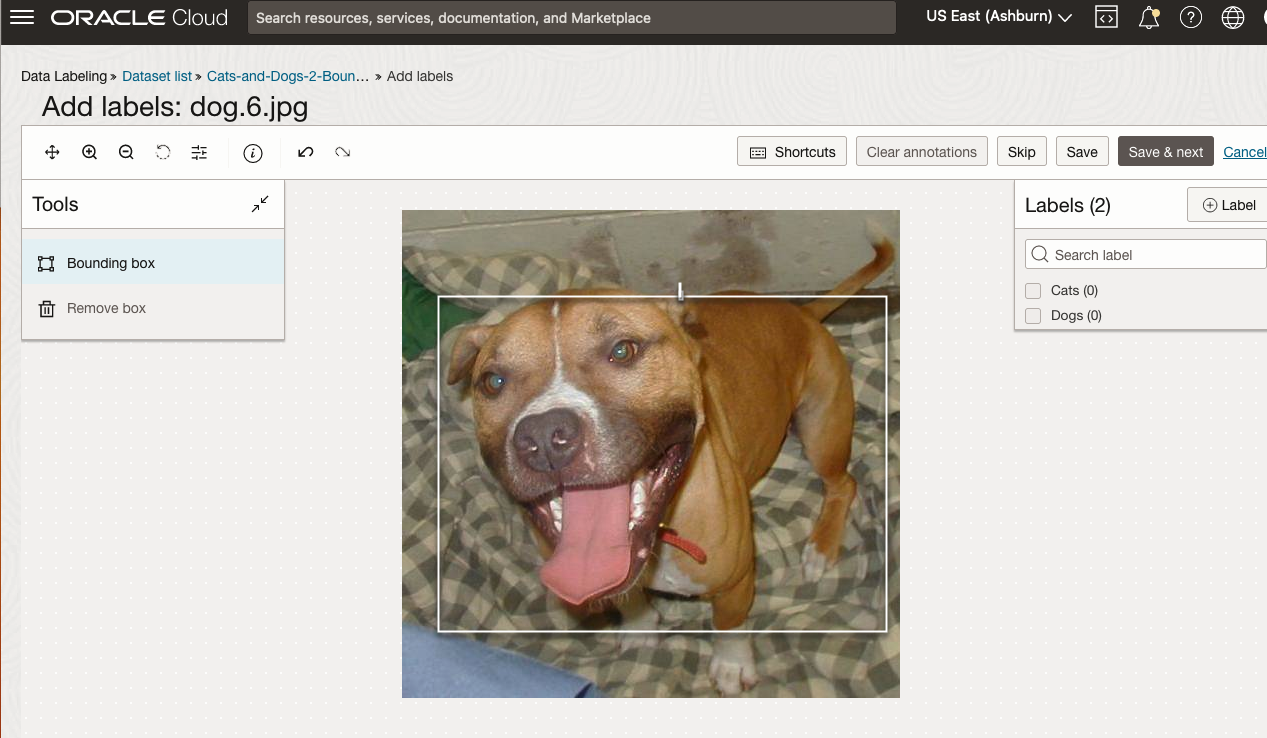
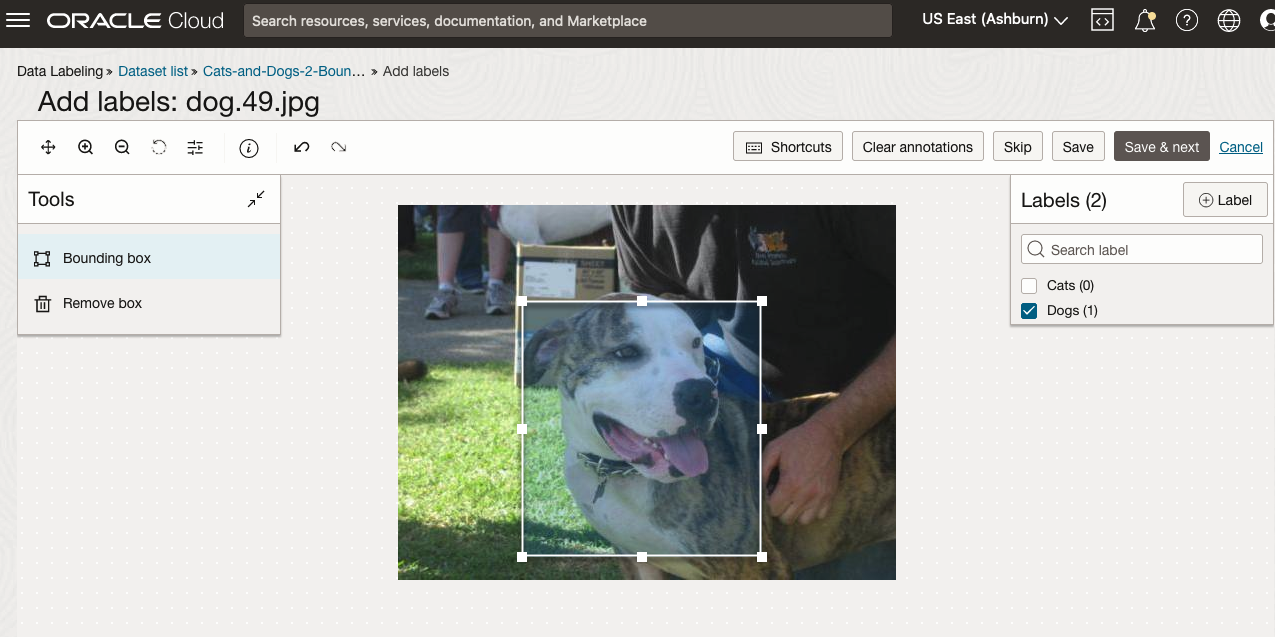
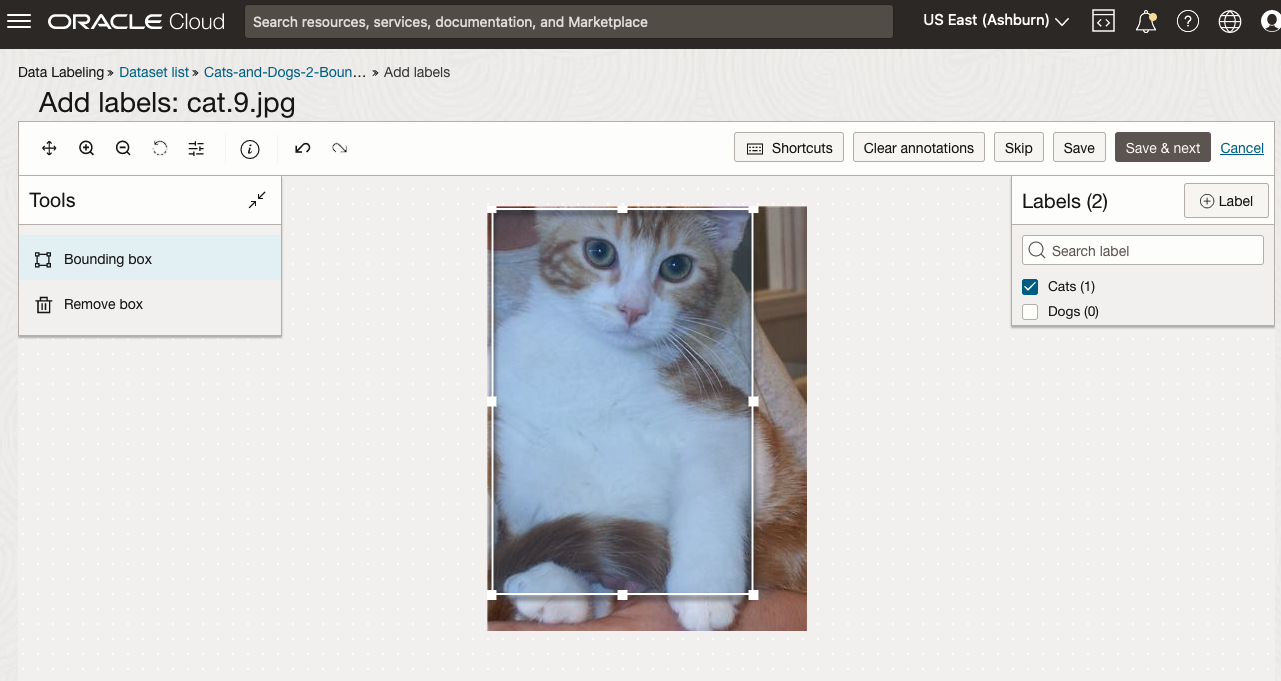
To stat the labelling process, click on the first on the first image. Using your mouse drag a box over the main item you want to label. In my example, I’m drawing a box around the animals while trying to exclude as much of the surrounding and background parts of the image. After drawing the box, you can then select the label, from the list on the right-hand side of the screen and then click the Save & Next button. Continue doing this until you complete all images. Yes this can take some time, but it should help OCI Vision create a better-informed model for these animals

OCI Data Labeling for Machine Learning
OCI Data Labeling is a service that enables developers and data scientists to construct labelled datasets for training AI and machine learning models. By utilizing OCI Data Labeling, users can easily gather data, generate datasets, and assign labels to individual data records through user-friendly interfaces and public APIs. The labelled datasets can then be utilised to facilitate model development across a wide range of Oracle’s AI and data science services, ensuring a seamless and efficient model-building experience.
OCI Data Labeling allows developers and data scientists to label different types of data for training AI and machine learning models. Here are some examples of how OCI Data Labeling can be used for different types of data:
- Document Labeling
- Image Labeling
- Text Labeling
Typically the labelling of data is a manual task but there are also options to programmicly do this if the necessary label data is available.

The OCI Data Labeling service can be located under the Analytics & AI menu. See the image.
As we want to label a dataset, we need to first define the Dataset we want to use.
Select Datasets from the menu.
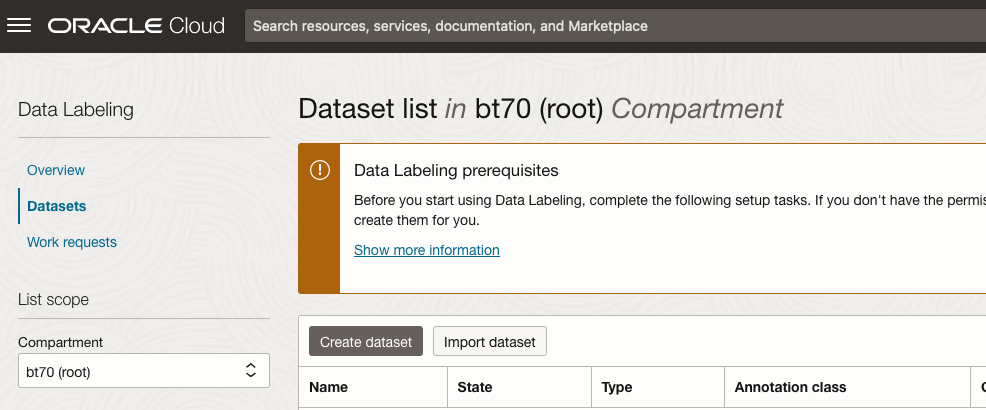
There are two options for creating the data set for labeling. The first is to use the Create Dataset option and the second is to Import Dataset.
If you already have your data in a Bucket, you can use both approaches. If you have a new dataset to import then use the Create Dataset option.
In this post, I’ll use the Create Dataset option and step through it.
Start by giving a name to the Dataset, then specify the type of data (Images, Text or Documents). In this example, we will work with image data.
Then select if the dataset (or each image) has one or multiple labels, or if you are going to draw bounding boxes for Object Detection.
For our example, select Single Label.
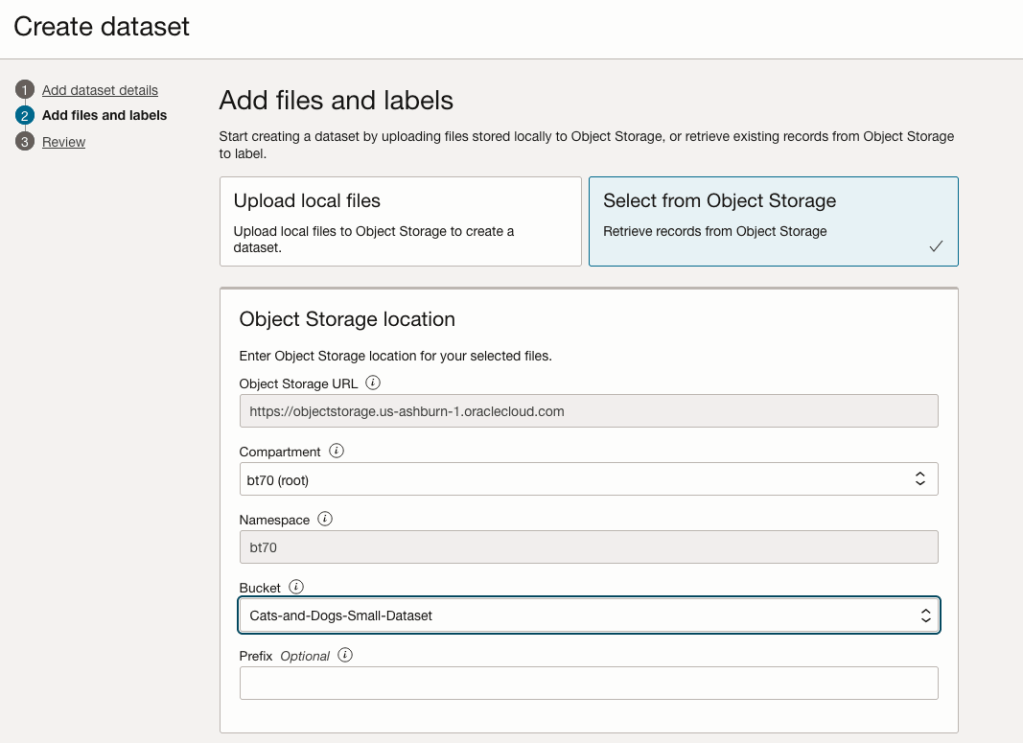
You can upload files from your computer or use files in an Object Bucket. As the dataset has already been loaded into a Bucket, we’ll select that option.
The Object Storage URL, Compartment and Namespace will be automatically populated for you.
Select the Bucket you want to use from the drop-down list. This dataset has 50 images each of Cats and Dogs.
The page will display the first eight or so, of the images in the Bucket. You can scroll through the others and this gives you a visual opportunity to make sure you are using the correct dataset.

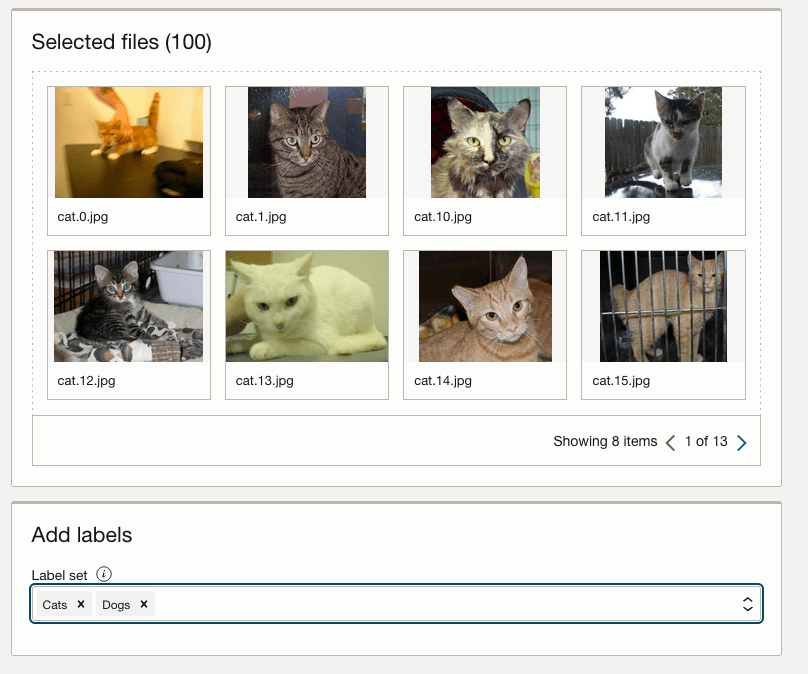
Now you can define the Labels to use for the dataset. In our sample dataset we only have two possible labels. If your dataset has more than this just enter the name and present enter. The Lable will be created.
You can add and remove labels.
When finished click the Next button at the bottom of the screen.
The final part of this initial setup is to create the dataset by clicking on the Create button

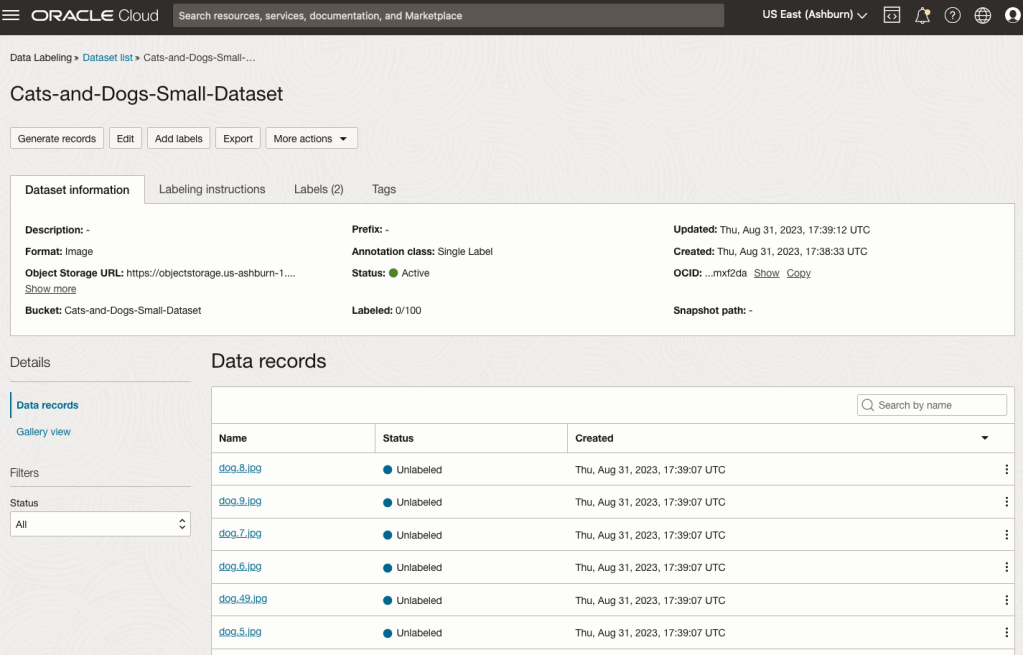
When everything has been processed you will get a screen that looks like this.
You are now ready to move on to labelling the dataset.
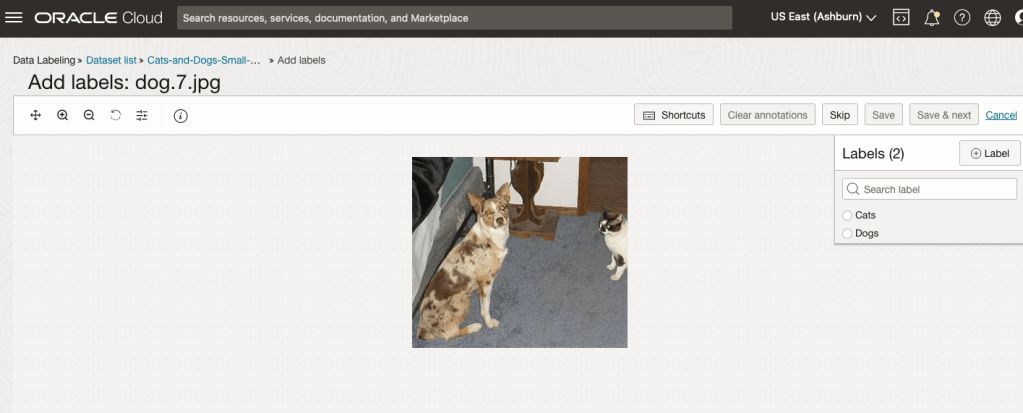
To label each image, start by clicking on the first image. This will open a screen like what is shown (to the right).
Click on the radio group item for the label that best represents the image. In some scenarios maybe both labels are suitable, and in such cases just pick the most suitable one. In this example, I’ve selected Dog. An alternative approach is to use the bounding box labelling. I’ll have a different post illustrating that.
Select the most suitable label and then click ‘Save & next’ button.
Yes, you’ll need to do this for all the images in the dataset. Yes, this can take a lot of time, particularly if you have 100s, or 1000s of images. The Datasets screen has details of how many images have been labelled and or not, and you can easily search for unlabelled files and continue labelling, if you need to take a break.

You must be logged in to post a comment.