
OCI Vision – Image model based on Object Detection
If you look back over recent blog posts you’ll see I’ve posted a few on using OCI Vision for image processing, image classification and object detection. This is another post to the series and looks to build an object detection model for images. In a previous post, I showed how to prepare an image dataset using OCI Data Labeling and using the bounding box method to outline particular objects in the image. In my examples, this involved drawing a bounding box around a Cat or a Dog in an image. After doing that the next step is to create an object detection model in OCI Vision and to test to see how well it works.
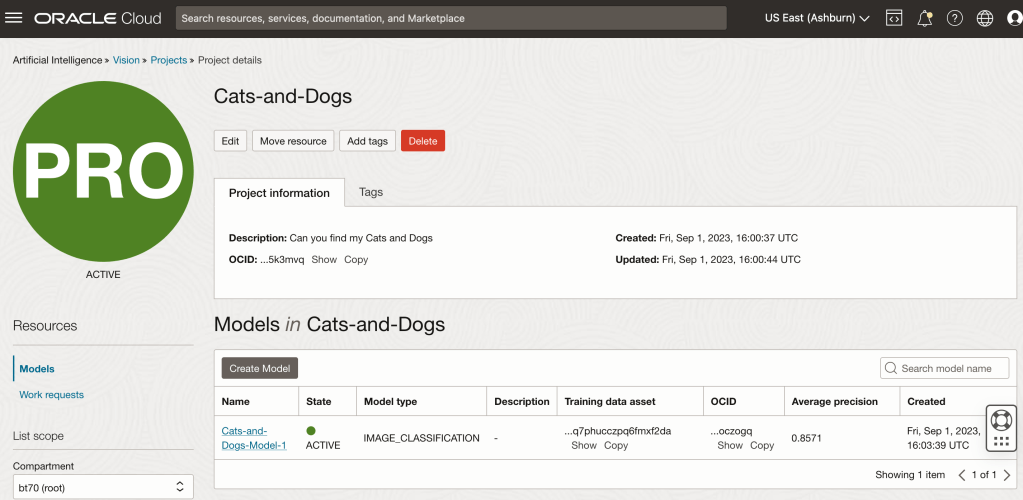
Let’s start with the OCI Vision project I created previously (see previous post).
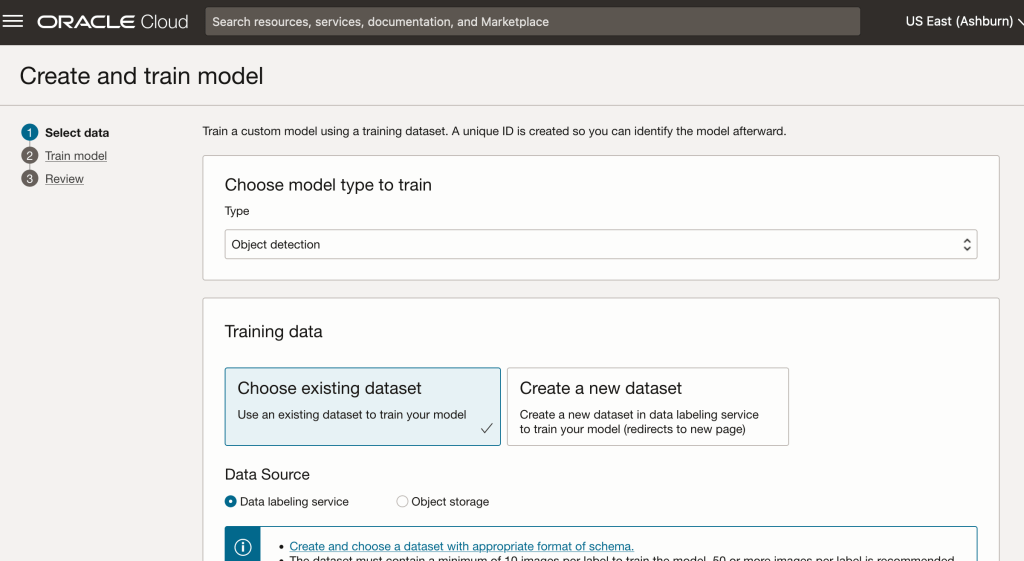
We can add a new model to this existing project. Click on the Create Model button
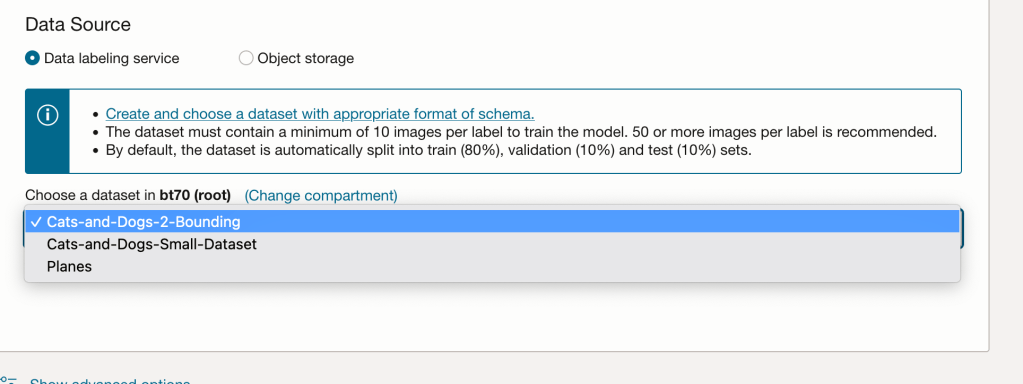
In the Create and Train model setup, select the newly defined dataset setup for object detection using bounding boxes. Then Create the model.
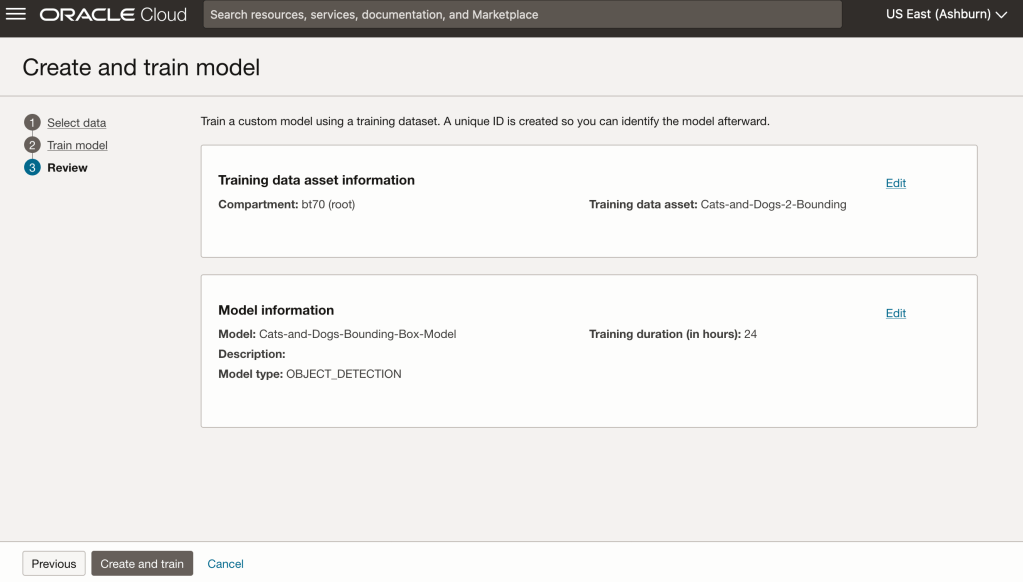
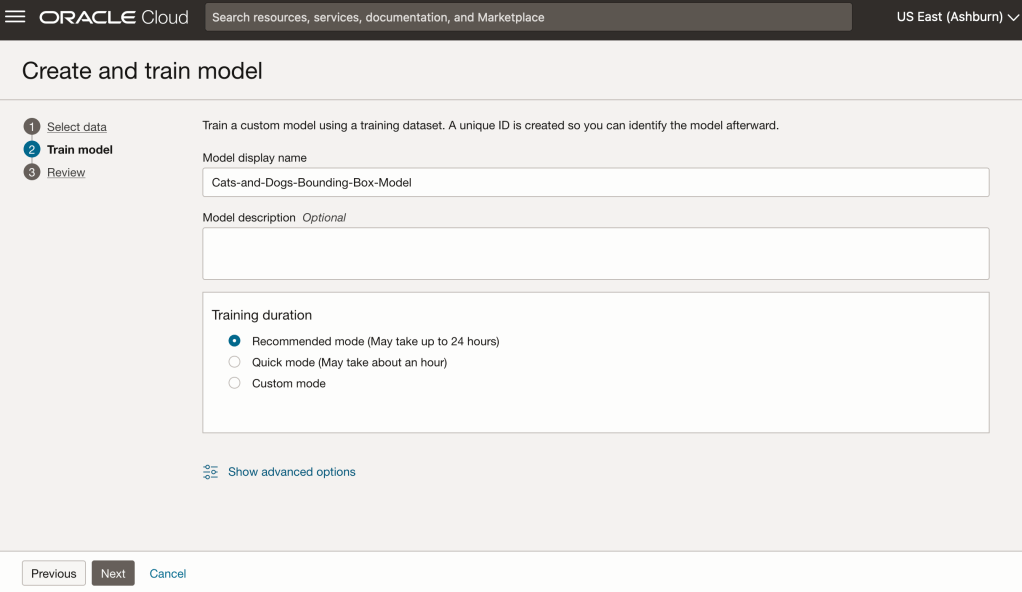
For my model, I selected the option to run for a maximum of 24 hours. It didn’t take that long and was finished in a little over an hour. The dataset is small as it only consists of 100 images.

After the model was created, click into the model to view the details. This screen also allows you to upload images. The model will be applied to the images and any objects will be identified on the image and the label displayed to the right of the image. Here are a few of the images used to evaluate and these are the same images used to evaluate the previously created image classification model.
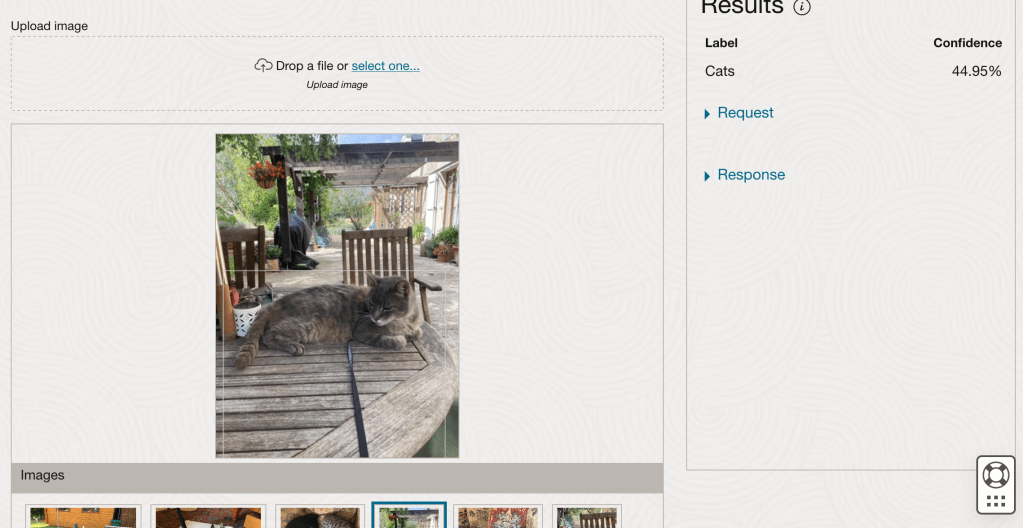
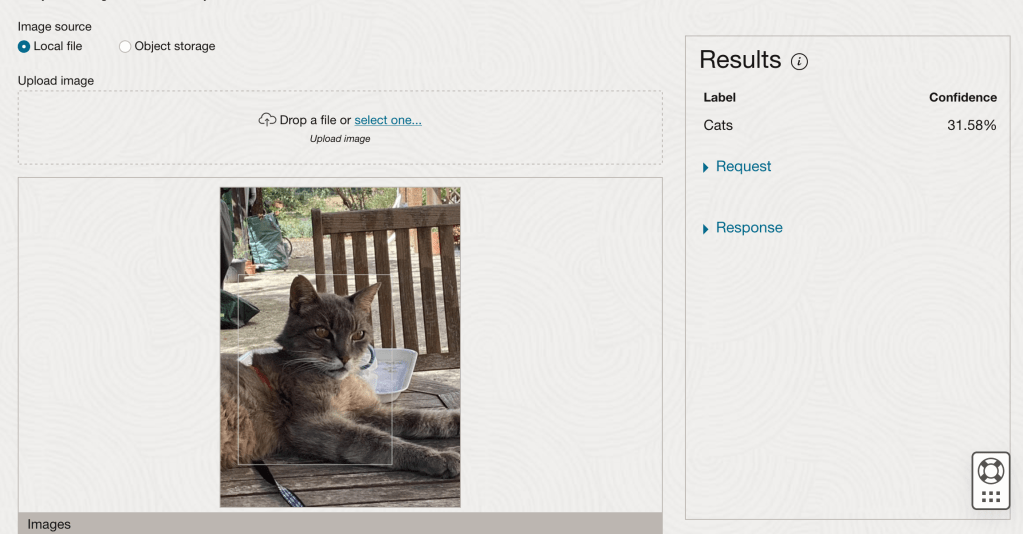
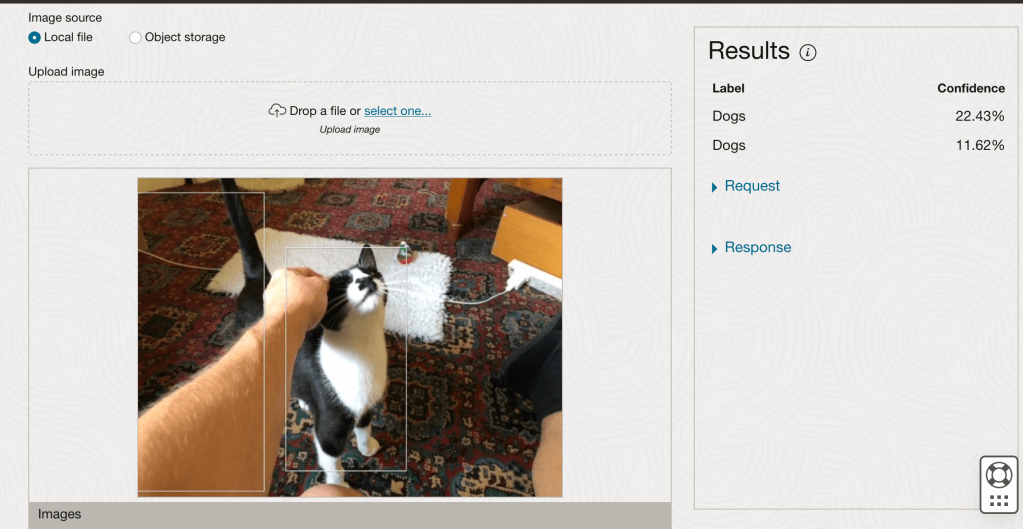
If you look closely at these images we can see the object box drawn on the images. For the image on the right, we can see there are two boxes drawn, one for the front part of the cat, then for the tail of the cat. I
