
OCI Vision
OCI Stored Video Analysis
OCI Video Analysis is a part of the OCI Vision service, designed to process stored videos and identify labels, objects, texts, and faces within each frame. It can analyze the entire video or every frame in the video using pre-trained or custom models. The feature provides information about the detected labels, objects, texts, and faces, and provides the time at which they’re detected. With a timeline bar, you can directly look for a label or object and navigate to the exact timestamp in the video where a particular label or object is found.
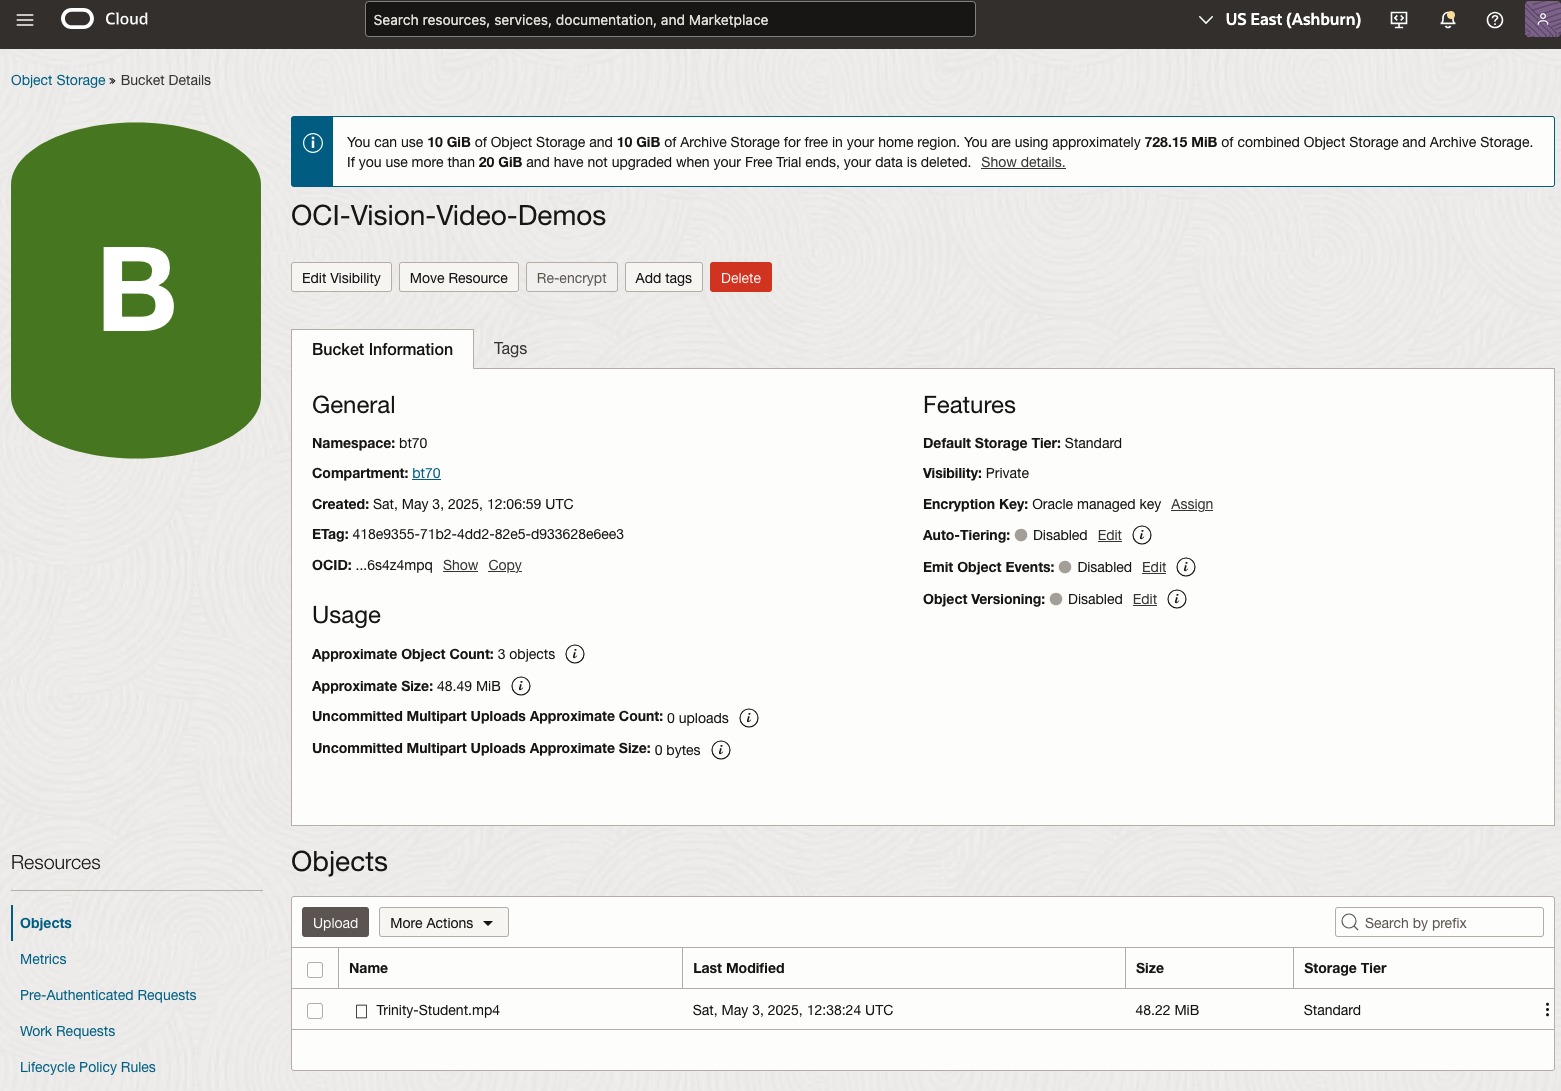
To use this feature, you’ll need to upload your video to an OCI Bucket. Here is an example of a video stored in a bucket called OCI-Vision-Video-Demos.
You might need to allow Pre-Authenticated Requests for this bucket. If you don’t do this, you will be prompted by the tool to allow this.
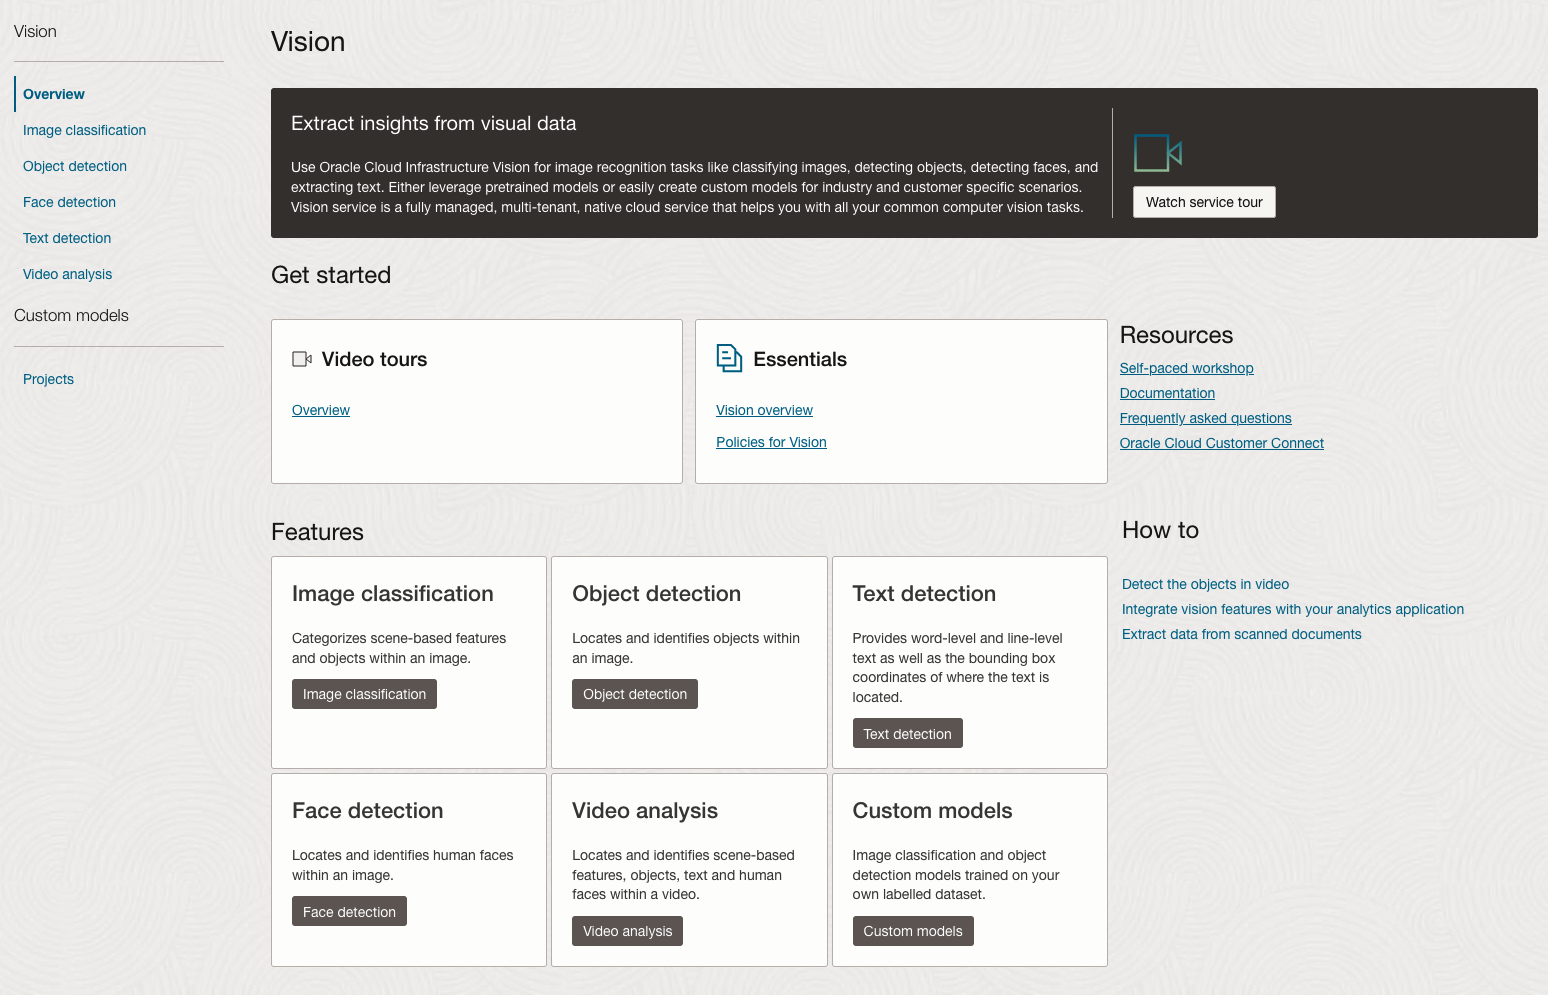
Next, go to the OCI Vision page. You’ll find the Video Analysis tool at the bottom of the menu on the left-hand side of the page.
You can check out the demo videos, or load your own video from the Local File system of you computer, or use a file from your OCI Storage. If you select a video from the Local File system, the video will be loaded in the object storage before it is processed.
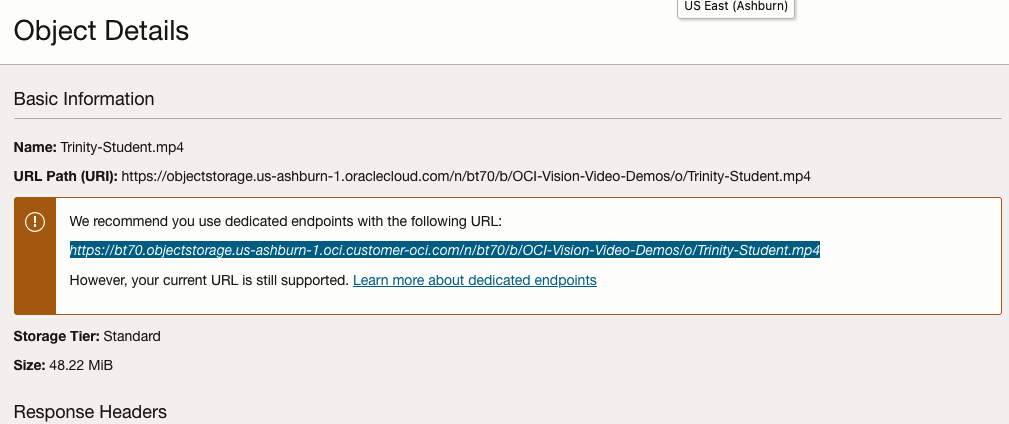
For this example, I’m going to use the video I uploaded earlier called Trinity-Student.mp4. Copy the link to this file from the file information in object storage.

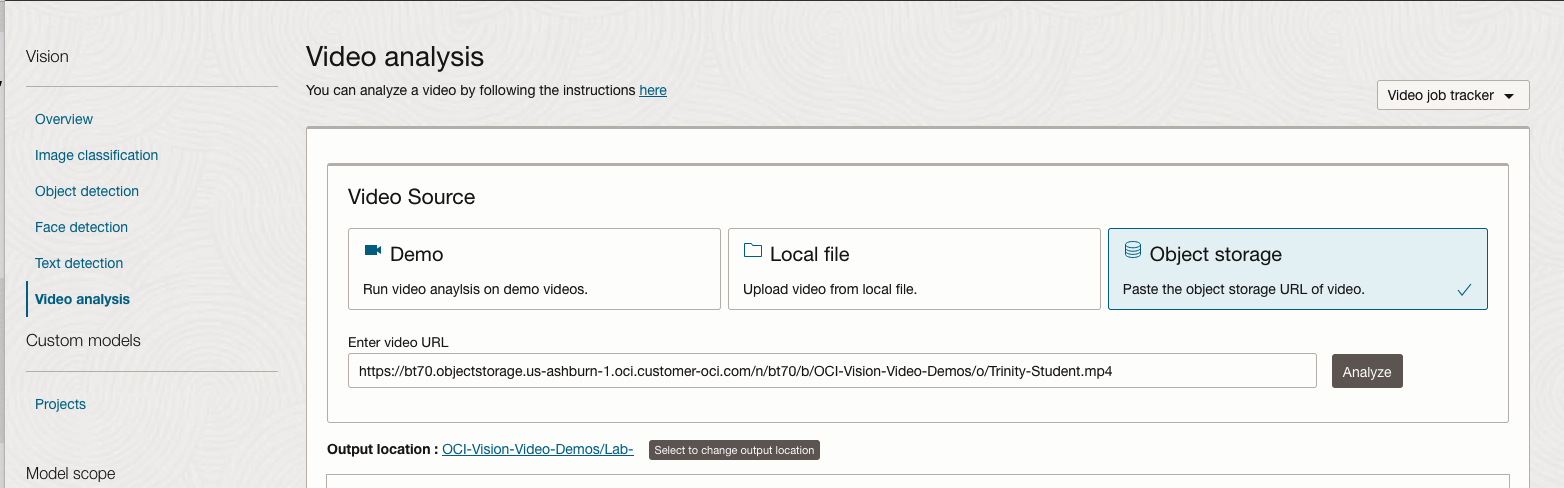
On the Video Analysis page, select Object Storage and paste the link to the file into the URL field. Then click Analyze button. It is at this point that you might get asked to Generate a PAR URL. Do this and then proceed.
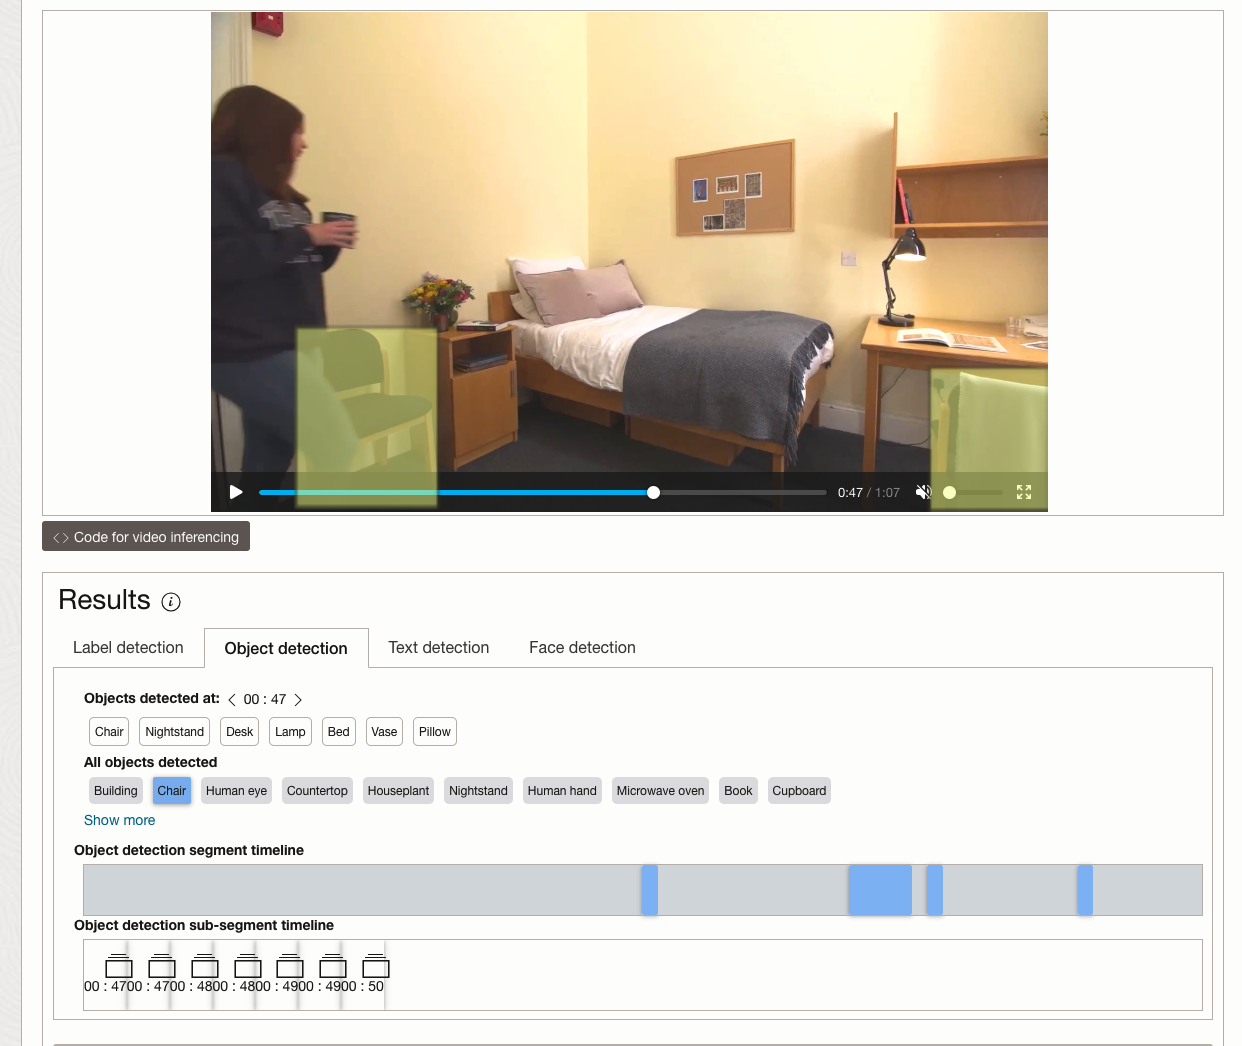
While the video is being parsed, it will appear on the webpage and will start playing. When the video has been Analyzed the details will be displayed below the video. The Analysis will consist of Label Detection, Object Detection, Text Dection and Face Detection.
By clicking on each of these, you’ll see what has been detected, and by clicking on each of these, you’ll be able to see where in the video they were detected. For example, where a Chair was detected.
You can also inspect the JSON file containing all the details of various objects detected in the video and the location in the videos they can be found.
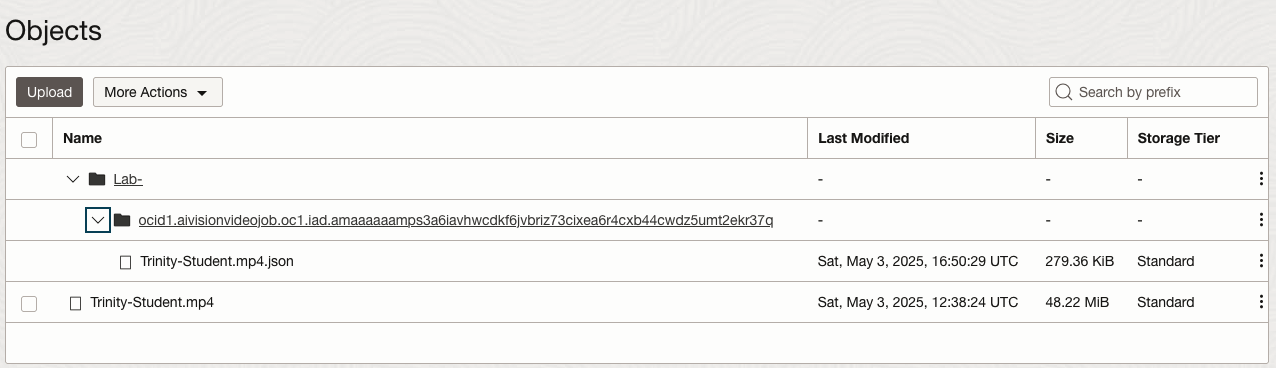
This JSON response file is also saved to Object Storage in the same directory, or a sub-directory, where the video is located.
Using Python for OCI Vision – Part 1
I’ve written a few blog posts over the past few weeks/months on how to use OCI Vision, which is part of the Oracle OCI AI Services. My blog posts have shown how to get started with OCI Vision, right up to creating your own customer models using this service.
In this post, the first in a series of blog posts, I’ll give you some examples of how to use these custom AI Vision models using Python. Being able to do this, opens the models you create to a larger audience of developers, who can now easily integrate these custom models into their applications.
In a previous post, I covered how to setup and configure your OCI connection. Have a look at that post as you will need to have completed the steps in it before you can follow the steps below.
To inspect the config file we can spool the contents of that file
!cat ~/.oci/config
I’ve hidden some of the details as these are related to my Oracle Cloud accountThis allows us to quickly inspect that we have everything setup correctly.
The next step is to load this config file, and its settings, into our Python environment.
config = oci.config.from_file()

config
We can now list all the projects I’ve created in my compartment for OCI Vision services.
#My Compartment ID
COMPARTMENT_ID = "<compartment-id>"

#List all the AI Vision Projects available in My compartment
response = ai_service_vision_client.list_projects(compartment_id=COMPARTMENT_ID)

#response.data
for item in response.data.items:
    print('- ', item.display_name)
    print('    ProjectId= ', item.id)
    print('')
Which lists the following OCI Vision projects.

We can also list out all the Models in my various projects. When listing these I print out the OCID of each, as this is needed when we want to use one of these models to process an image. I’ve redacted these as there is a minor cost associated with each time these are called.
#List all the AI Vision Models available in My compartment
list_models = ai_service_vision_client.list_models(
    # this is the compartment containing the model
    compartment_id=COMPARTMENT_ID
)

print("Compartment Id=", COMPARTMENT_ID)
print("")
for item in list_models.data.items:
    print('  ', item.display_name, '--', item.model_type)
    print('     OCID= ',item.id)
    print('     ProjectId= ', item.project_id)
    print('')
I’ll have other posts in this series on using the pre-built and custom model to label different image files on my desktop.
OCI Data Labeling using Bounding Box
In a previous post, I gave examples of how to label data using OCI Data Labeling. It was a simple approach to data labeling images for input to AI Vision. In that post, we just gave a label for the image to indicate if the image contained a Cat or a Dog. Yes, that’s a very simple approach, and we can build image classification models, and use the resulting model to predict a label for new images. These would be labeled as a Cat or a Dog with a degree of certainty. Although this simple approach can give OK-ish results, we typically want a more detailed model and predictions. For a more detailed approach, we can use Object Detection. For this, we need to prepare our data set in a slightly different way and Yes it does take a bit more time to prepare. Or perhaps it takes a lot more time to prepare the data. But this extra time in preparing the data should (in theory) give us a more accurate model.
This post will focus on creating a new labeled dataset using bounding boxes, and in a later post, we’ll examine the resulting model to see if it gives better or more accurate results.
I’ve mentioned the phrase ‘bounding box’ a few times and this approach does exactly as the phrase indicates. Draw a box around the object and assign a label to it. In our example, we have used a Cats and Dogs dataset. We’ll use that same dataset (50 images of each animal). This approach to labelling the images takes much longer to complete, as we have to draw a box around each animal. But it is worth the effort, as the models can focus on what is inside the box and ignore anything outside the box.
The first task is to define the dataset that will contain our newly labelled data based on the bound box method.
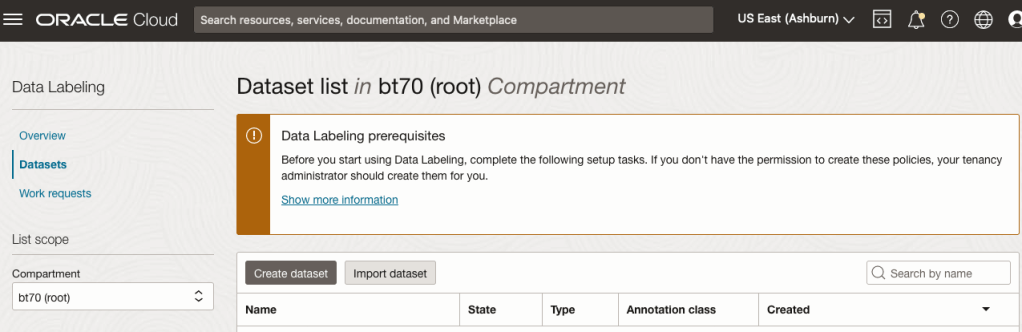
From the OCI menu, go to the Analytics & AI section and select Data Labeling.
Select the Dataset menu items(on the left hand side of the screen, and then click on the Create dataset button.
The Add Dataset screen allows us to enter the details of the dataset we want to use.
Our dataset is based on a dataset in Object storage, and we can define it as the basis of creating a newly labelled dataset. This does not affect the underlying original dataset.
In this case, we want to select Object Detection in the section called Annotation Class.


On the next screen, you can define the Bucket containing the images we want to label.
In our case, we will be using the Cats and Dogs dataset previously loaded into Object Storage.
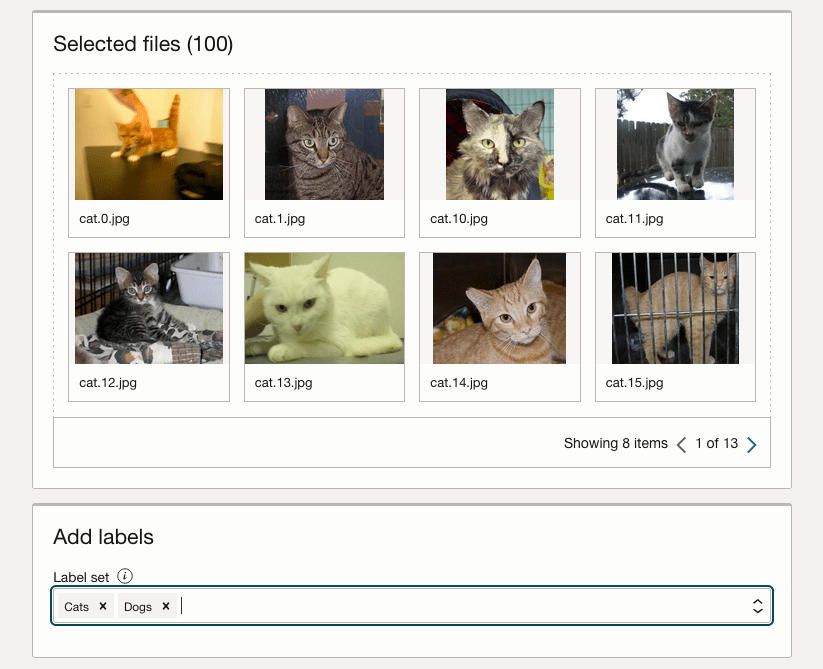
In the next section, it will tell you how many files are part of the underlying dataset. By default, it will use all of them.
Add the labels you want to use, although you can add more during the labelling process.
Click Next to move to the next screen and then Click Finish to complete this setup.

After a moments, depending on the number of images in the underlying dataset, the version of the dataset for labelling can now be processed.
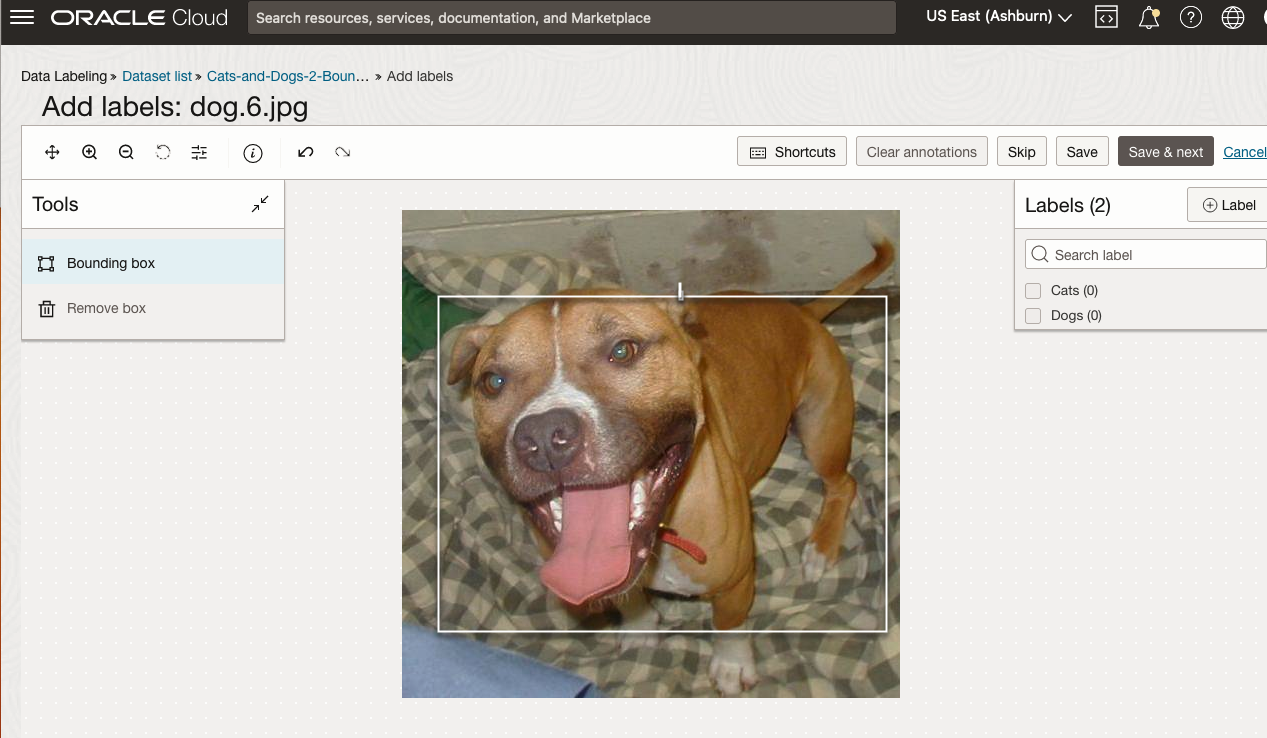
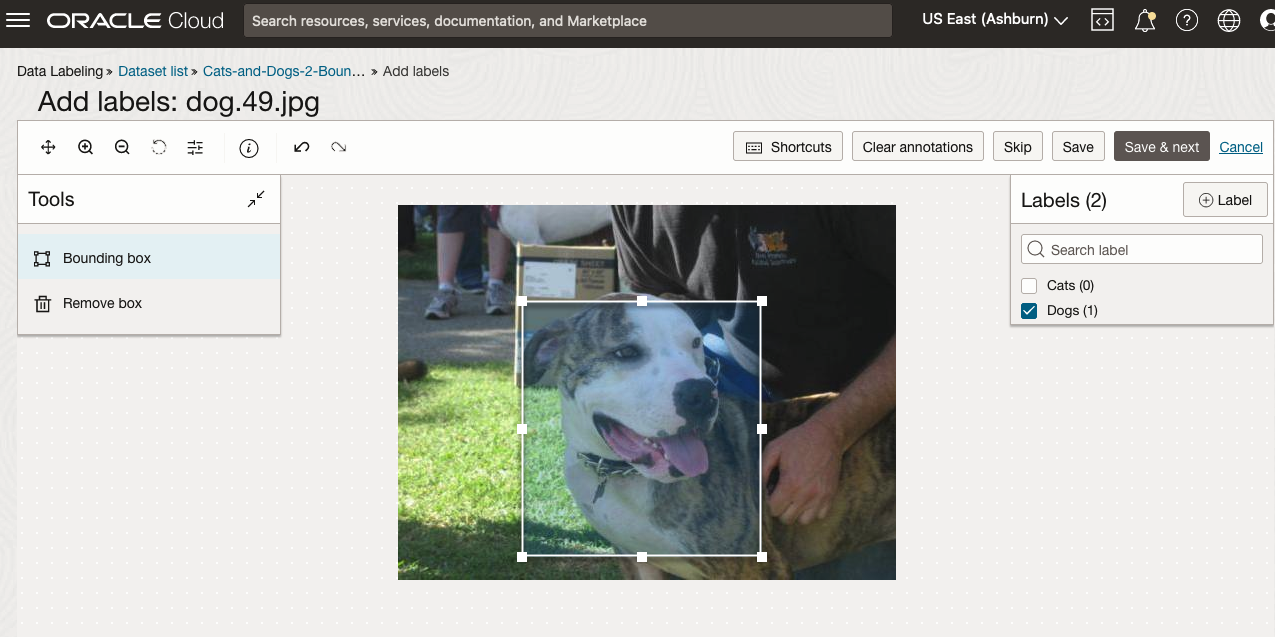
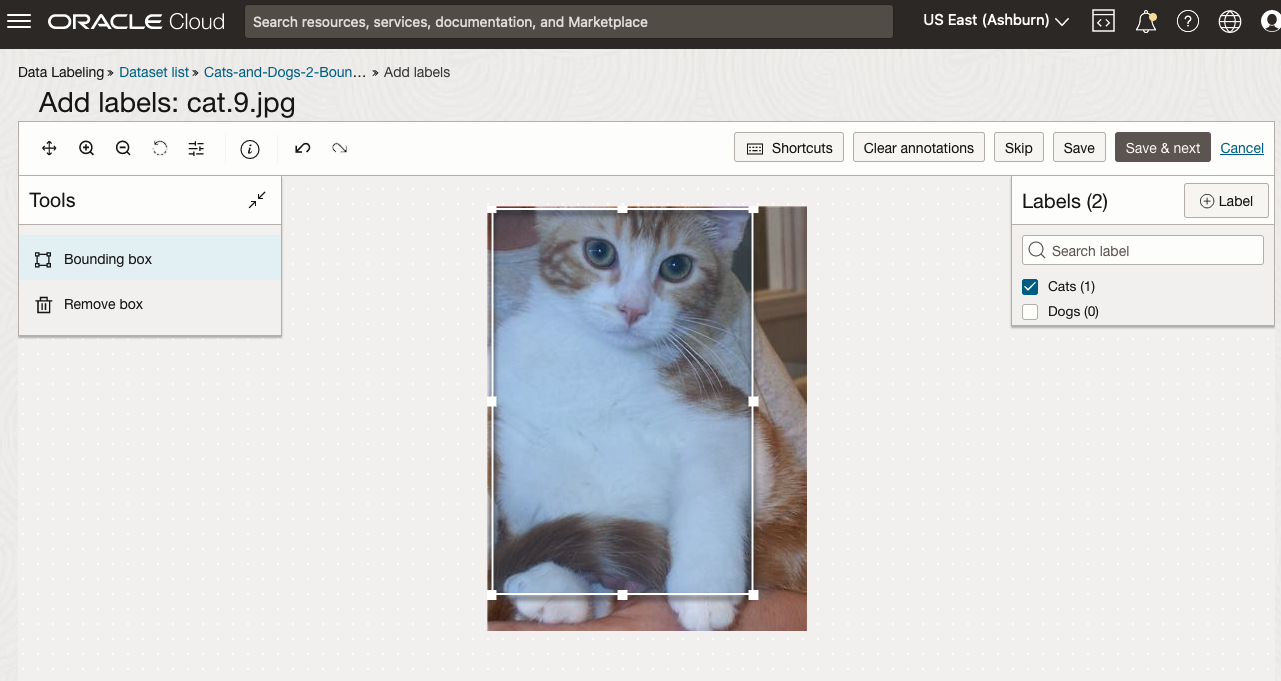
To stat the labelling process, click on the first on the first image. Using your mouse drag a box over the main item you want to label. In my example, I’m drawing a box around the animals while trying to exclude as much of the surrounding and background parts of the image. After drawing the box, you can then select the label, from the list on the right-hand side of the screen and then click the Save & Next button. Continue doing this until you complete all images. Yes this can take some time, but it should help OCI Vision create a better-informed model for these animals


You must be logged in to post a comment.