
Vision
OCI:Vision Template for Policies
When using OCI you’ll need to configure your account and other users to have the necessary privileges and permissions to run the various offerings. OCI Vision is no different. You have two options for doing this. The first is to manually configure these. There isn’t a lot to do but some issues can arise. The other option is to use a template. The OCI Vision team have created a template of what is required and I’ll walk through the steps of setting this up along with some additional steps you’ll need.
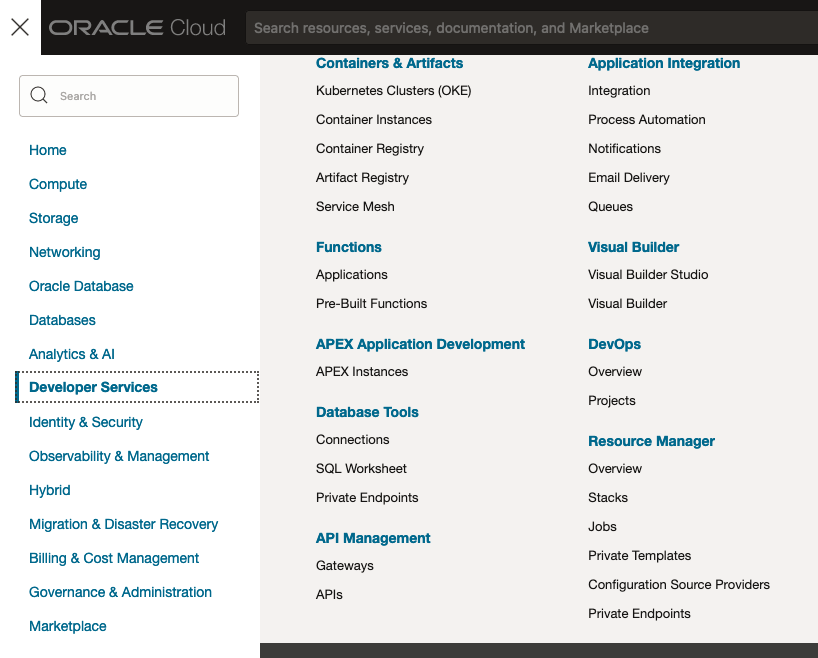
You’ll need to go to the Resource Manager page. This can be found under the menu by going to the Developer Services and then selecting Resource Manager.
First, you’ll need to go to the Resource Manager page. This can be found under the menu by going to the Developer Services and then selecting Resource Manager.
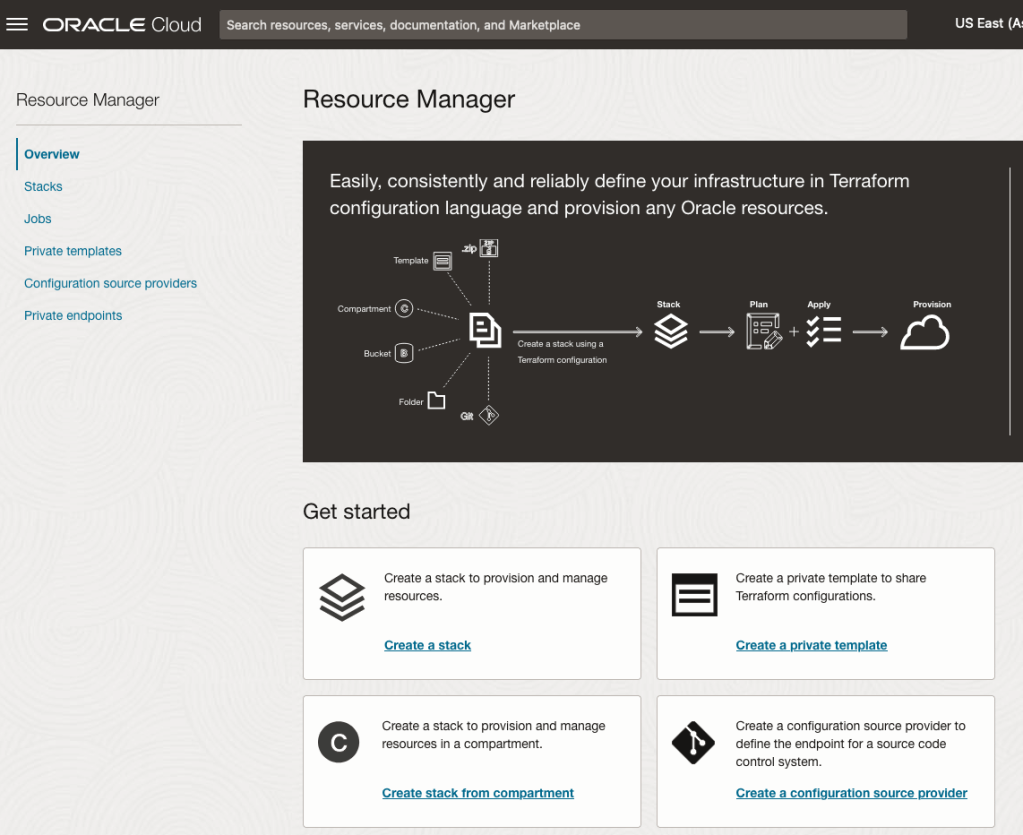
Located just under the main banner image you’ll see a section labelled ‘Create a stack’. Click on this link.
In the Create stack screen select Template from the radio group at the top of the page. Then in the Browse template pop-up screen, select the Service tab (across the top) and locate Vision. Once selected click the Select Template button.
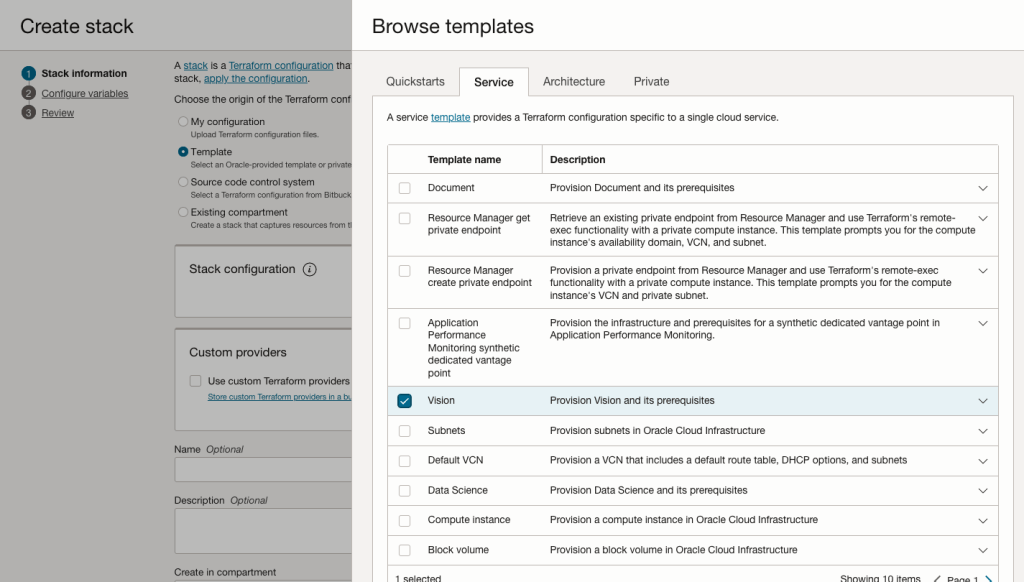
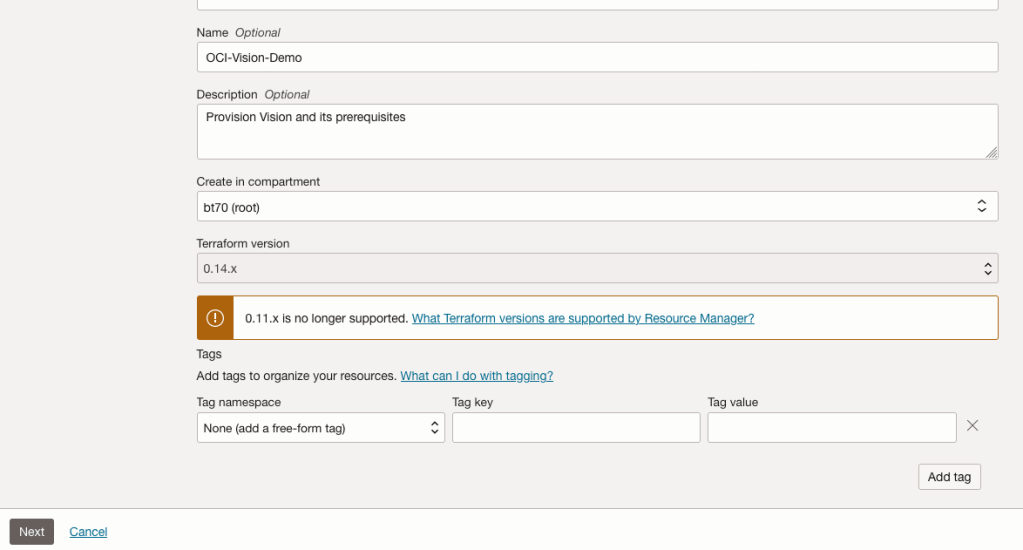
The page will load the necessary configuration. The only other thing you need to change on this page is the Name of the Service. Make it meaningful for you and your project. Click the Next button to continue to the next screen.
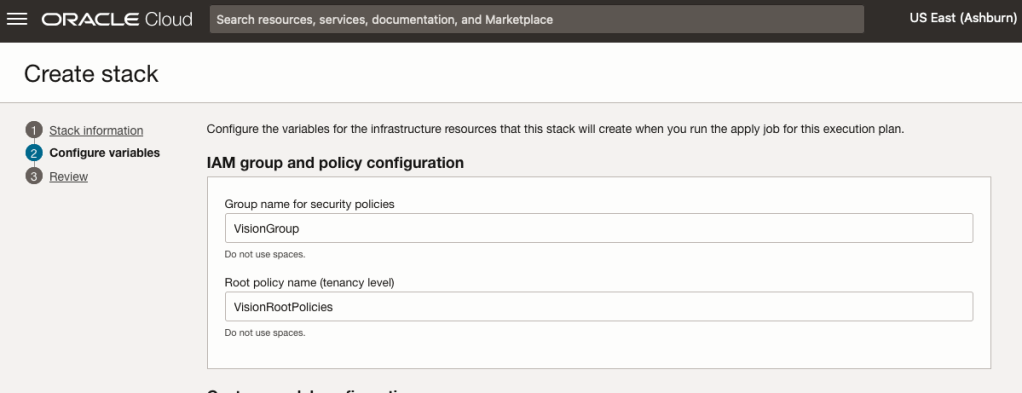
The top section relates to IAM Group name and policy configuration. You take the defaults or if you have specific groups already configured you can change it to it.
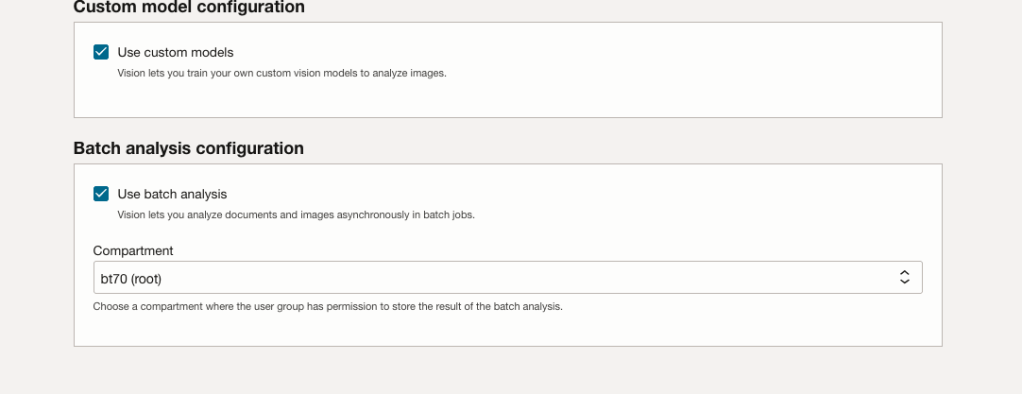
Most people will want to create their own customer models, as the supplied pre-built models are a bit basic. To enable Custom Built models, just tick the checkbox in the Custom Model Configuration section.
The second checkbox enables the batch processing of documents/images. If you check this box, you’ll need to specify the compartment you want the workload to be assigned to. Then click the Next button.
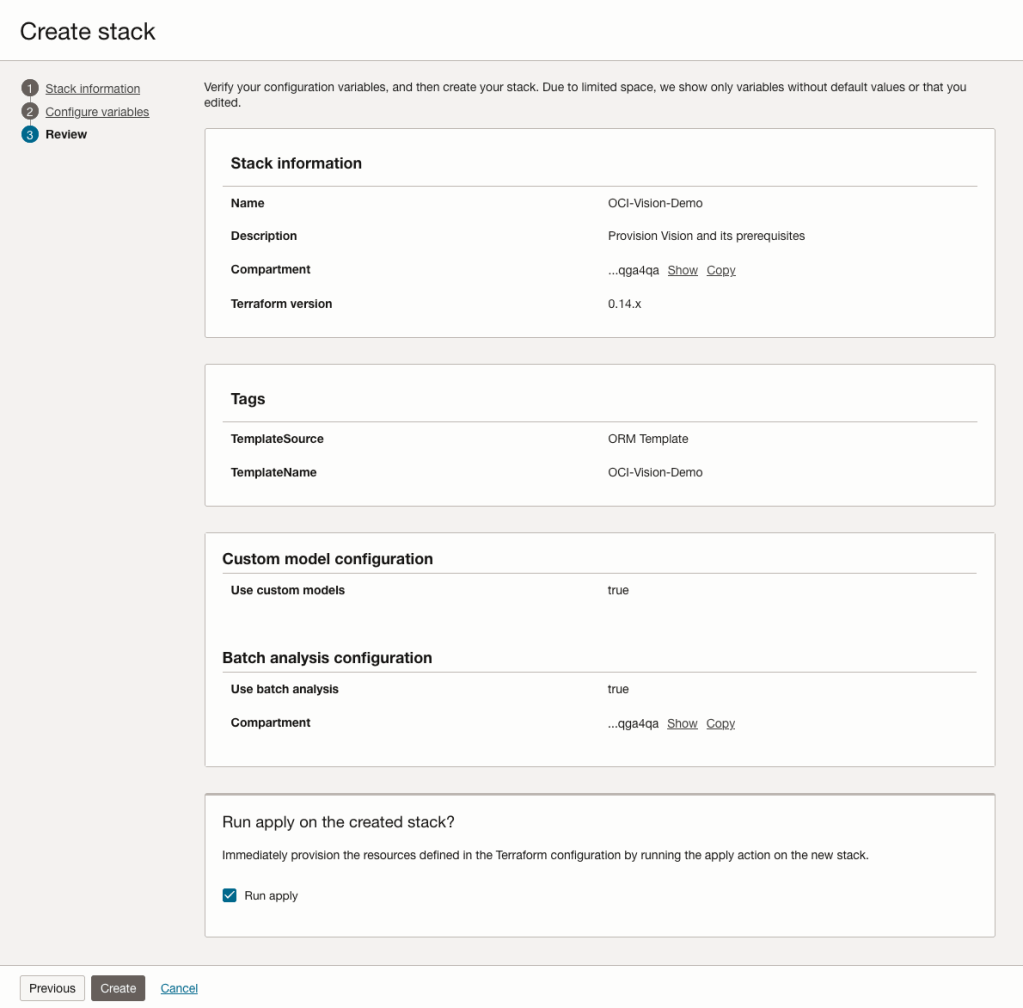
The final part displays a verification page of what was selected in the previous steps.
When ready click on the Run Apply check box and then click on the Create button.
It can take anything from a few seconds or a couple of minutes for the scripts to run.
When completed you’ll a Green box at the top of the screen and the message ‘SUCCEEDED’ under it.


You must be logged in to post a comment.