Postgres on Docker
Prostgres is one of the most popular databases out there, being used in Universities, open source projects and also widely used in the corporate marketplace. I’ve written a previous post on running Oracle Database on Docker. This post is similar, as it will show you the few simple steps to have a persistent Postgres Database running on Docker.
The first step is go to Docker Hub and locate the page for Postgres. You should see something like the following. Click through to the Postgres page.

There are lots and lots of possible Postgres images to download and use. The simplest option is to download the latest image using the following command in a command/terminal window. Make sure Docker is running on your machine before running this command.
docker pull postgresAlthough, if you needed to install a previous release, you can do that.

After the docker image has been downloaded, you can now import into Docker and create a container.
docker run --name postgres -p 5432:5432 -e POSTGRES_USER=postgres -e POSTGRES_PASSWORD=pgPassword -e POSTGRES_DB=postgres -d postgresImportant: I’m using Docker on a Mac. If you are using Windows, the format of the parameter list is slightly different. For example, remove the = symbol after POSTGRES_DB
If you now check with Docker you’ll see Postgres is now running on post 5432.

Next you will need pgAdmin to connect to the Postgres Database and start working with it. You can download and install it, or run another Docker container with pgAdmin running in it.
First, let’s have a look at installing pgAdmin. Download the image and run, accepting the initial requirements. Just let it run and finish installing.


When pgAdmin starts it looks for you to enter a password. This can be anything really, but one that you want to remember. For example, I set mine to pgPassword.
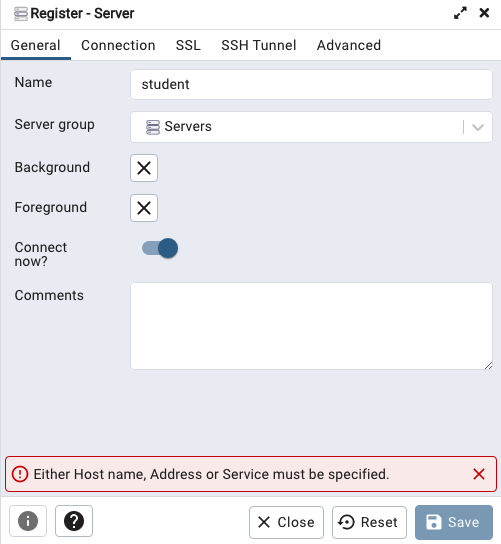
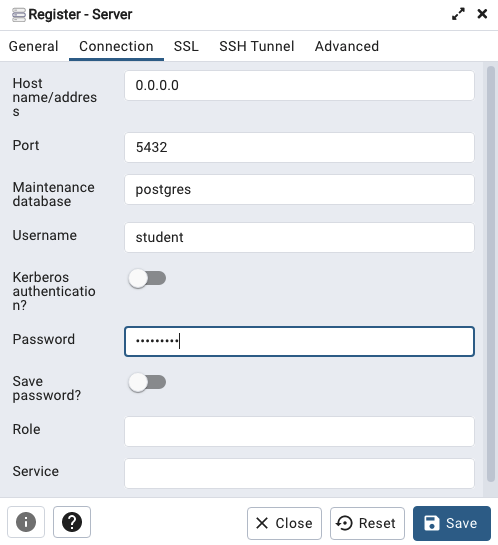
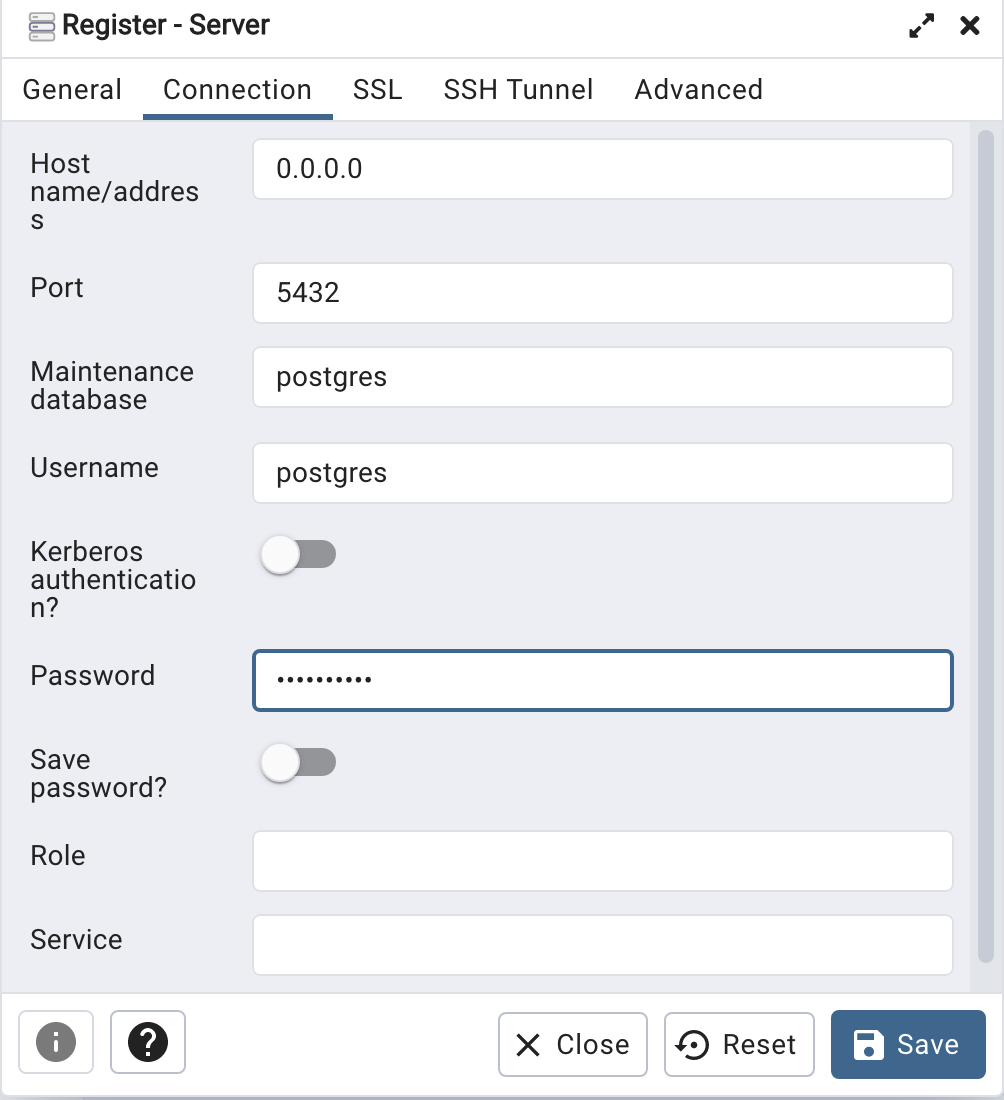
Then create (or Register) a connection to your Postgres Database. Enter the details you used when creating the docker image including username=postgres, password=pgPassword and IP address=0.0.0.0.
The IP address on your machine might be a little different, and to check what it is, run the following
docker ps -a


When your (above) connection works, the next step is to create another schema/user in the database. The reason we need to do this is because the user we connected to above (postgres) is an admin user. This user/schema should never be used for database development work.
Let’s setup a user we can use for our development work called ‘student’. To do this, right click on the ‘postgres’ user connection and open the query tool.
Then run the following.

After these two commands have been run successfully we can now create a connection to the postgres database, open the query tool and you’re now all set to write some SQL.